Thursday, April 24, 2014

Update on the Stars

I've been working along on my large project- so far it's going slowly and without much success, but I'm persevering.  Last weekend I finished up the part I wanted to get done before leaving on my trip this weekend, so in the last few days I've pulled out a project that's been ongoing for several years now.   On Friday I'm leaving to go to Empty Spools Seminars with my mom and I'm super excited.  We're both taking a class with Jane Sassaman who I've wanted to take a class from ever since my first time at Asilomar.

Anyway, I started this project a few months after our first trip to Asilomar in 2009.  I only know that because that's where I first got hooked on EPP. I've been working on it since then off and on, mostly it was a hand piecing project to work on while traveling.  I finished the center hand pieced medallion a full year ago (ack!) and it's been pinned to my wall ever since.  The whole thing will finish around 18" square, so it's pretty small.


In the last few days I've made the floating piano key border and corner blocks which are machine pieced. I'm not really a good precision piecer, and the piano keys are 1/4" each so the variability is pretty obvious up close sometimes, but for the most part I think it turned out fine.  I love the look of the border with the center part and now all I have to do is quilt it!


Wednesday, April 9, 2014

Birthday Presents For Anna

I can hardly believe Anna has turned 2!  I wasn't able to go down for her birthday celebration but I think they had a great time.  I took a break from my giant project to make her some fun clothes.

I also made some doll clothes and accessories.  I'm a huge fan of Ikat Bag, her patterns and blog posts are fabulous.  My mom and I bought the Fairytale Doll/dress pattern and my mom made the doll and a basic dress for Anna's birthday and I made a bunch of the clothes (although not all) and the combination bed/carrying case.

This outfit was inspired by a dress we saw while shopping- super simple eyelet-over-bright.  I didn't have a pattern just like this but it was easy enough to adapt from a different pattern.  Hope it fits.  And of course, it had to have a matching dolly dress.


This dress was made of the part I cut off the bottom of my favorite dresses (I didn't like how long it was).  I had just enough cut off to make the dress for Anna and the doll dress, so now we all three can match.  The dress actually originally belonged to Becky, so it's sort of gone full circle!


This little dress is the ball gown from the Ikat Bag pattern, so so easy to put together!  Sadly I don't have the doll for you to see how it fits, but maybe I'll take some pictures the next time I'm down.  I didn't make the fairy outfit or the mermaid outfit, even though those are the two coolest in the whole pattern, I just ran out of time.  Oh well, Christmas I guess!

And then this is the carry case.  The front has a pleated zip pocket into which the clothes and dolls can be stuffed.  The back has an envelope flap and opens to reveal an attached blanket and pillow.


All in all, it was super fun to make some cute things and I hope Anna likes them!


Thursday, April 3, 2014

Finished cuttlefish

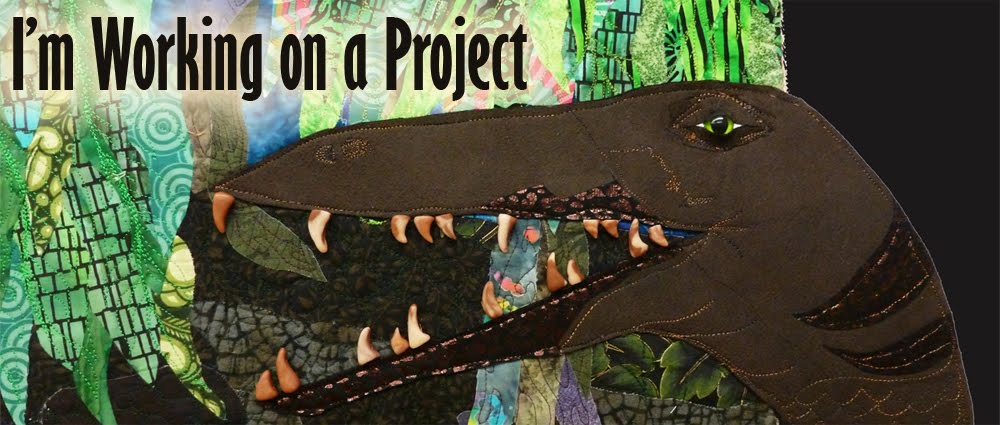
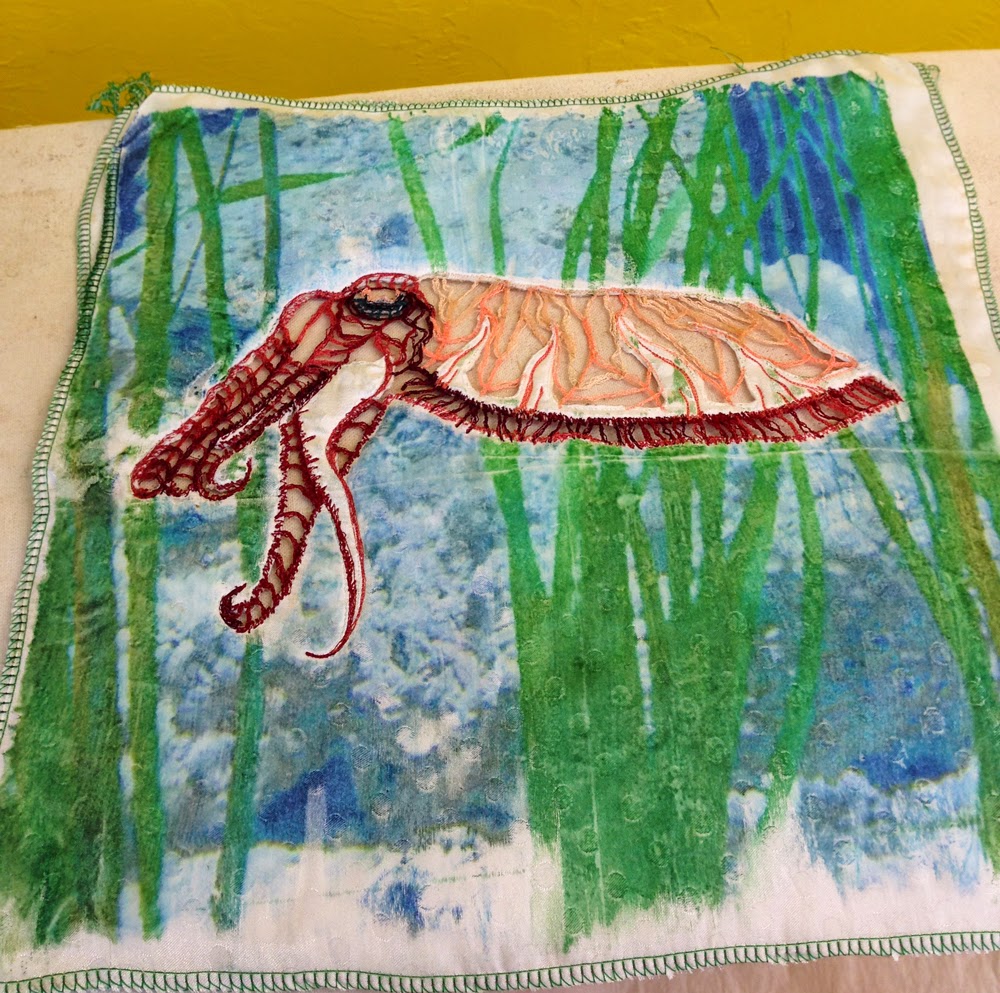
I finished the cuttlefish mini-quilt, so thought I'd share a few more in progress pictures and the final piece.

When last I checked in, I'd started the thread work on the cut-out quilt sandwich backed with water soluble stabilizer.  Here's what it looked like when I was finished with the thread work, and then after I soaked it to dissolve the stabilizer.  All the stabilizer came off cleanly and the thread was a bit floppy but held its shape ok.


The next question was what to do with the background.  In the initial picture (which I took at the Monterey aquarium), the fish was swimming through some green foliage in front of a piece of corally-looking rock.  I thought about painting it, but I'm not very good at that.  I thought about just quilting it, but I felt like that might be too much white.  I thought about trying to color and cut out some pieces of evolon or dryer sheets and applique them on top, but nothing was really very inspiring.  

Then I saw this on Judy Simmons blog.  She has a great step-by-step tutorial so I encourage you to check it out. She describes a technique where you can transfer from a transparency to fabric. Basically, you print out your picture on the transparency, then paint your fabric with gel medium wherever you want the picture to transfer, then put the transparency (ink side down) on the fabric and rub all over it.    I tried it and it worked great!  you can see below, I did not paint over the fish part, so no ink transferred there, but it transferred really nicely everywhere else.  It's a bit mottled looking and soft-edged; you wouldn't want to use this technique for crisp printing, but for an underwater scene I thought it turned out nicely.


Then I just used about six different green fabrics (mostly polyesters, silks, and velvets) to layer leaves on top, and then quilted away.  I love that you can see the green printed leaves peeking out a bit from behind.  I think they add some nice dimension.


Here's the final piece and a couple of detail shots:

Cuttlefish, Shannon Conley, 2014 12x12.


And just because spring is here, a picture of my dwarf crabapple tree blooming in my yard.


I hope you're all having a nice spring and making some fun art!  Linking up as always with Nina-Marie.