


Just ignore the little quilting mistakes and knots; I'm trying to get better about those. You can kind of see the purplish tinge in the blue setting squares in these pictures. I really did love that fabric.
Here's the final quilt. It's really big, big enough to hang over all four sides of my king bed by about 8 inches. There were instructions for drafting the pattern pieces for each bed size, but I used the same pattern pieces my mom used, and apparently she and my sister had some sort of miscommunication during the measuring stages. Apparently some measurement was 3.14, and one of them said, "you know, like pi" which prompted a little dyslexia and the cutting of a pattern piece based on 3.41 instead. It made for some laughs since we're all actually fairly mathy people, but the net result was a couple of very large quilts. Sadly, it means I don't actually have a picture of the whole thing, this picture was taken at the quilt show in Dallas and the top fifteen inches or so are flipped over the hanging pole. The borders do actually go around all four sides.
 |
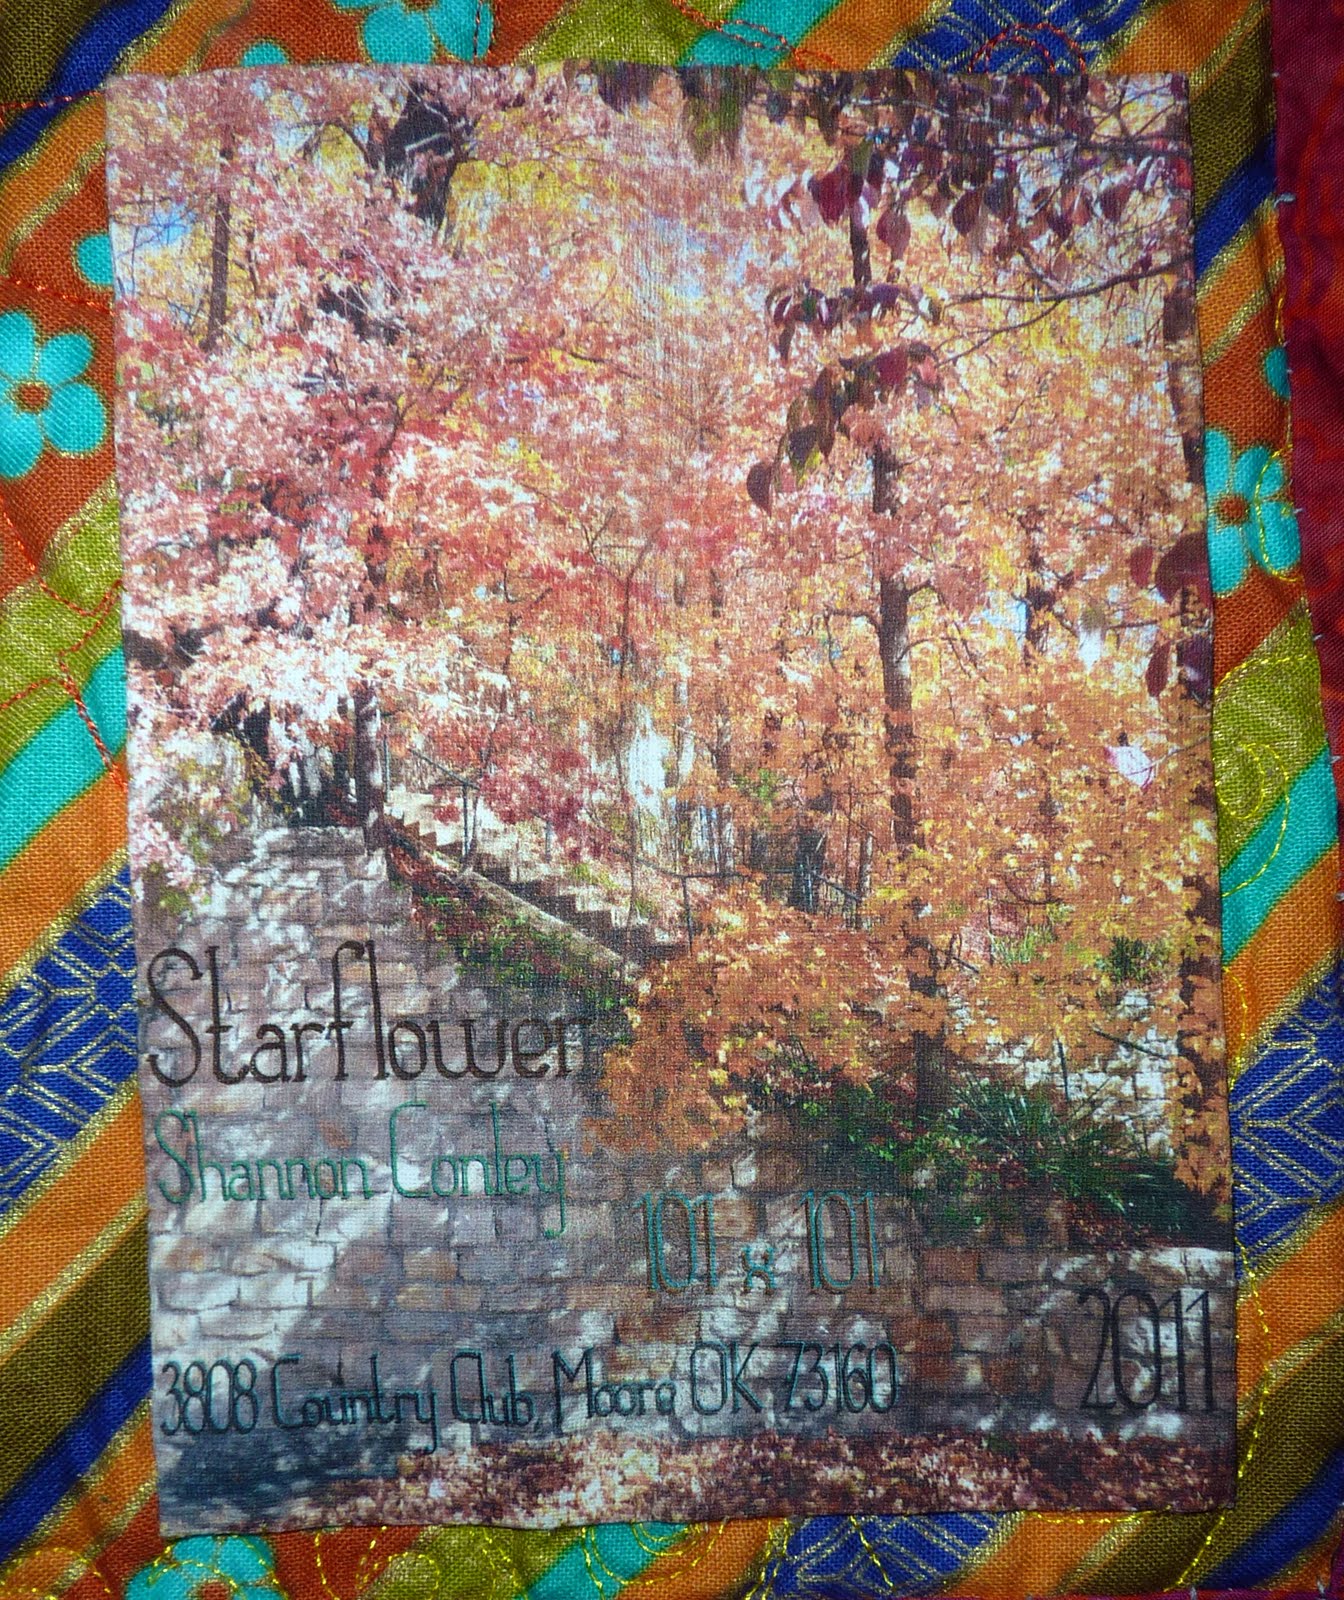
| Starflower, 101" x 101", 2011 |
Here's the label I made for it, from a picture I took on a trip to Eureka Springs last fall. Sorry it's so hard to read.
You are such a fabulous quilter! How did you learn FMQ? Do you always use a long arm machine? Do you have any advice on learning FMQ on a conventional machine?
ReplyDeleteYour FMQ is beautiful, wonderful quilt.
ReplyDeleteThanks for the kind comments guys!
ReplyDeleteHey Kenda, I learned to FMQ on my mom's longarm. She's had lots of classes from big name people, so has been able to teach me a little, but really she is much better than I am. However, she lives 500 miles from me, so I can pretty much only quilt my large quilts with her longarm. Lately I have been doing a lot of FMQ on my home machine. I'm not particularly good but there are a few things I've found that really have helped me.
1. Have a dropped sewing machine that is flush with the table.
2. Work small. This is the biggest factor for me. I just finished FMQ that Hawaiian applique on my home machine and it was a disaster. But when I do things that are ~16" square they turn out pretty nice. My best recommendation if you want to do a bigger piece but quilt on the regular sewing machine is to use one of the quilt-as-you-go methods. I haven't tried any but am planning to if I ever need to make a big quilt but quilt on my regular machine.
3. Practice on lots of "placemats" I have lots and lots of miscellaneous individual blocks that I put a border on and then practiced FMQ. I even made quilt sandwiches out of some of my grandmother's old linen napkins and practiced on those. So many of them are awful awful awful, but it seems I am getting a little better.
4. Use good thread and a sharp needle. I was having tons of problems with breakage and it was driving me nuts. I have much better luck if I suck it up and use good thread. There's lots of good thread, but my current favorites are masterpiece by superior and highlights (for bright colors) from superior.
5. Use the same thread in the bobbin and on top. Even though it's annoying to use so many bobbins, it makes it much less obvious when the tension is off if the bobbin and top are the same color.
6. Make small patterns. When I try to do big patterns on my regular sewing machine they always look jerky and not smooth but if I make small patterns they seem to come out better.
Those are just a few suggestions from a relative newbie, but they've helped me get over the insanity of FMQ on my regular sewing machine. I'm in such awe of the people who do big quilts that way and have such beautiful work.
I'm still looking forward to any cute patterns you think we could make with card. Anna and I need to do more projects together, but I am so not crafty. I always end up thinking about nice sentences or nice data... LOVE your blog!!
ReplyDelete