Usually I do WIP Wednesday posts that just talk about whatever work in progress I'm currently focused on. This week however, since Seymour is getting really close to being finished, I thought I'd do a legit WIP Wednesday post. I hope it can serve as a reference as I go forward towards the end of the year.
I've been following Leah Day's progress on her UFOs and I'm really excited to start tackling some of mine. For so long I feel like I've been working on Seymour, and as I was cleaning up my studio yesterday I kept finding UFOs/WIPs that I'd completely forgotten about! Sadly, I did not find my favorite small scissors which were what I was actually looking for. Over the next few months I'd like to make good progress on some of the larger UFOs, with a few smaller ones thrown in. So without further ado:
Finishes this Week:
Baby quilt for Casey Ahlden
Funny felt thing (more on these early next week)
Progress this Week:
Tons of small details on Seymour; here's a picture of his newly made eye, I'm especially pleased with how his eyelids turned out. In person they're so smooth and curvy! There are still many small things that have to be done and one large thing (the teeth) before he's ready to be officially finished. My target for this is next Monday.
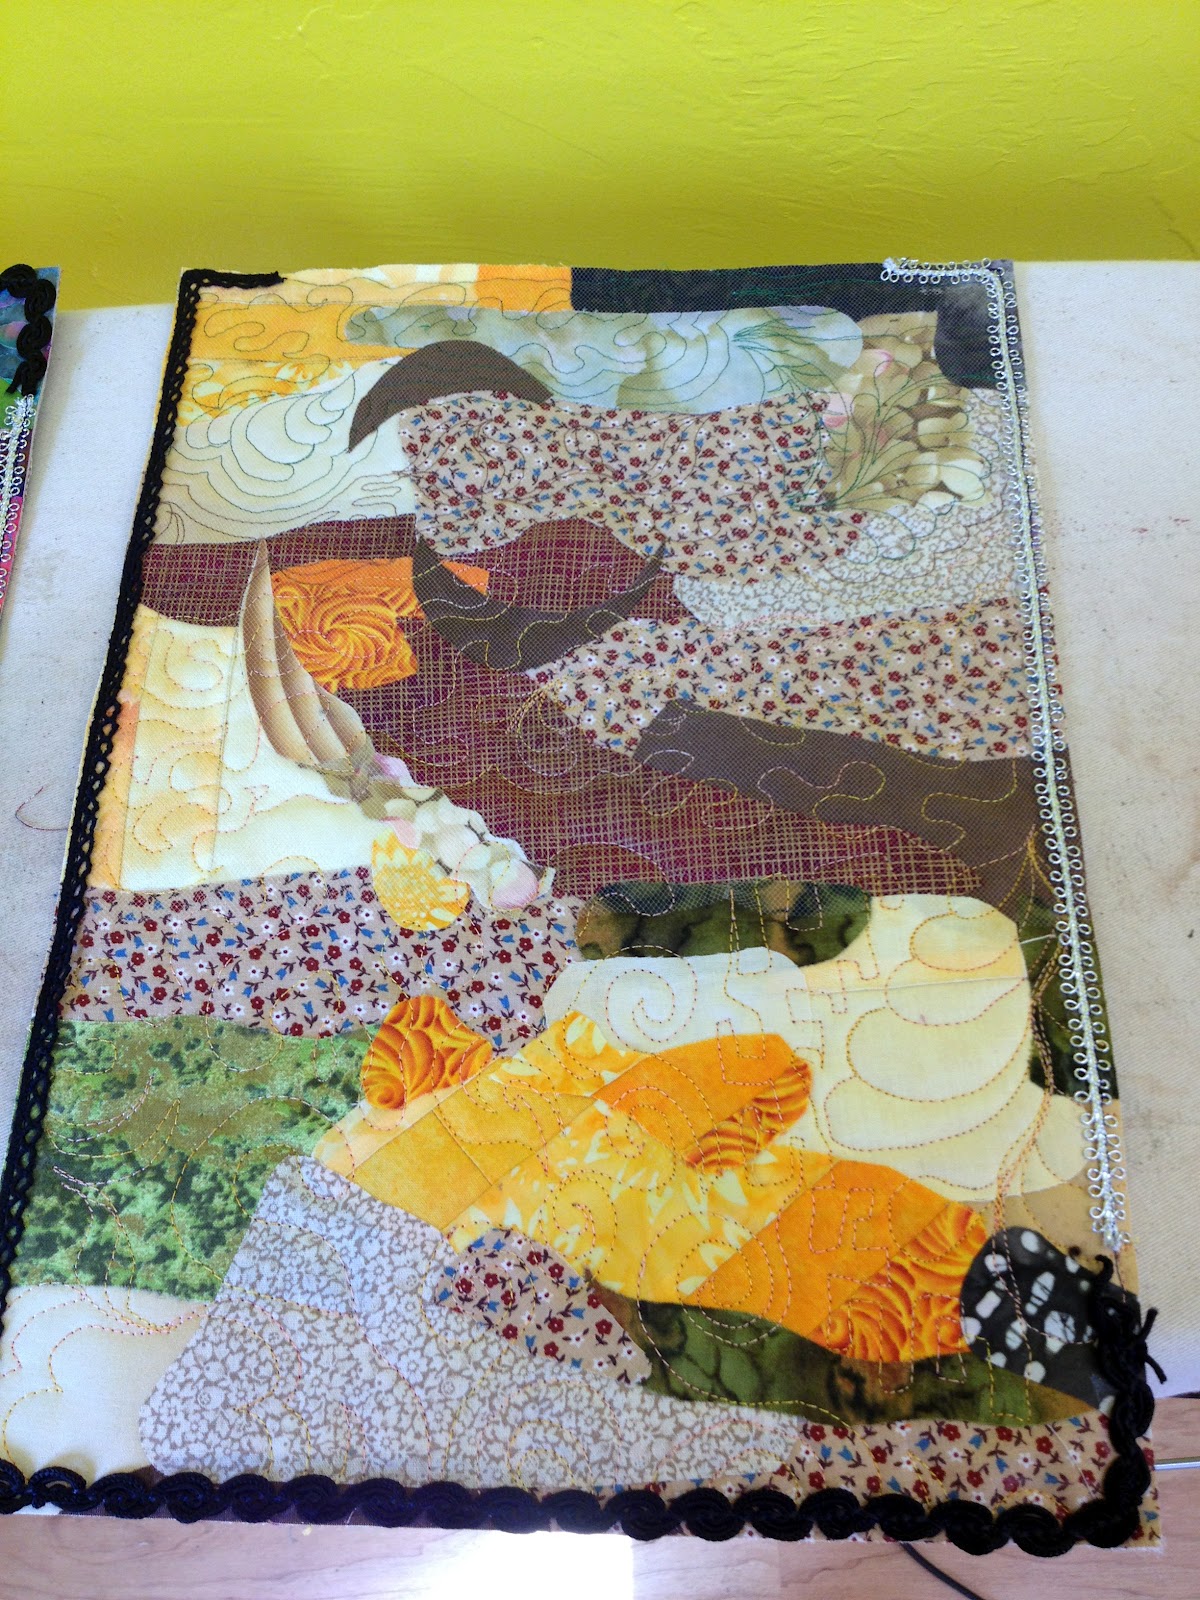
No Progress this Week/UFOs/WIPs:
Dog Quilt
Nativity Quilt (this will be the next big thing I get out)
Memory Quilt for Linda (this has to be pretty high on the list as well)
Crochet Flower Afghan
English Paper Piecing Mini
Thanksgiving Quilt (I'm probably going to try some quilt as you go on this. Someday. right now it's a medium sized quilt sandwich waiting to be quilted)
Amy Butler Weekender Bag
Sun Printing/Cyanotype Blocks
Anna Butterfly Blocks
Silk Screening (I have the blocks I silk screened with mom over Christmas maybe? I'd completely forgotten about them).
Bobbin Quilting
Things I'd Really Like to Make But am Trying to Resist Starting:
Cathedral Window Pinchushion
Dream Catcher Quilt, Fabric Challenge for MQS (we got the fabric for this at MQS last year)
Secret Projects for Anna
Embroidered Clock for the Studio
Boxy Bag (this has been on my wish list for a long time)
Sunglasses Case/Frame Purse
Crochet Something with the Beautiful Yarn I Brought from Germany
Snowflake Christmas table runner
Crewel Sampler (I'm just craving this)
Shooting Star Block
Sadly, there are also a bunch of utility things I need to do and I know that any minute holiday sewing is going to start cropping up! I just have to tell myself, one thing at a time.


.jpg)


.JPG)