Tuesday, May 19, 2020

New Quilt: Lantern

Some of you may remember a few years ago I made this quilt (called tesseract) that was made out of separate quilted triangles reassembled and sculpted.  I'd wanted to do something more in this vein, and while being inspired by all the kirigami I also discovered contemporary origami artists doing really cool things with corrugations.  See for example, the flickr streams of Ray Schamp and Beth Johnson

Upon closer inspection, I realized that one of the easiest "Beginner" corrugation patterns used flying geese blocks, so I figured I had to try it!  I dug out all my already quilted scraps (edges cut off and practice swatches), and started cutting out triangles.  Here they are pinned to my design wall.


To hold the triangles together, I sandwiched them between two layers of pale tulle and quilted around them.  Here you can see the colors are a bit muted from the tulle.


One of the things that was troublesome last time was keeping the loose triangles straight while I quilted them between two layers of tulle.  To solve this problem, this time I hung a sheet of plastic drop cloth on my design wall before pinning up the triangles. I then used tiny dots of hot glue to stick the triangles to the tulle.  I figured the plastic would peel off, but alas no.  So now the piece consists of a layer of tulle, a layer of quilted triangles (front/batting/back) another layer of tulle, and a layer of drop cloth.  Oops.

Here you can see it (from the back) in the initial stages of folding/sculpting.


To help keep the spacing between each unit even, I stitched chunks of old straws (previously used to hold up kirigami legs) between each unit using my long doll making needle.


In envisioned it as a half-barrel shape, kind of like a wall-mounted lantern, and I had to figure out a way to give it that curved shape.  I decided on a chicken wire/wood armature, and of course my arms suffered a bit for that.


Come back tomorrow to see the finished piece!


Thursday, May 14, 2020

I like #164

Welcome to another week of things to like.  Our labs opened back up this week, so I've been working in my office/lab a little more which has been nice.  Still working from home as much as possible, but it's good to be back at work some.  Luckily our lab is big and isolated and there aren't very many of us who work there so we can stay separate.  I made masks for all the girls who work for me so that was fun.

The best thing to like this week is my mom!  Happy mother's day mom!  She's really the best.  Of course we weren't together, but I dug through and found some old pictures of her with us to send for mother's day.

I love this one-  she made the matching dresses and blouses for us, and that blue car in the background was super exciting,  it was my mom's first new car back in the early 80s, and my first car period (no longer new) in the mid 90s.  It's part of why I wanted my new subaru to be blue.


And I love this one too!  More of my mom's sewing at hand-  she made the prairie dresses for us for a school play, I'm not sure what it was, but we dressed up as Laura Ingalls Wilder with the same dresses for Halloween that year (I think that's what this picture is from).  Love you mom!!!


I didn't take very many pictures this week, but the dogs are good, and my flowers are good.  I did dig the petunias out of the dahlia pots and put them in a different place so that was good.  I started a new project based on a polar dendrogram, and it's been the perfect thing to use some of my hand painted fabrics and precious scraps.


I also blogged about a couple more backlogged projects,  I'm nearing the end of those, so hopefully soon I'll be to current projects!  The crocheted wrap is something I finished over Christmas, but the flame quilt is quite recent; I finished it at the end of March, so there's hope of catching up.


I hope everyone is staying safe!  Click over to Lee Anna's for more things to like!


Wednesday, May 13, 2020

Thorns and Spikes-Lantern Flames

My mom recently started up a small art quilt group centered on people in the Four Corners region.   It's pretty new, but our first call for entry was titled Thorns and Spikes.  I immediately thought of all the quilts I've made that incorporate aluminum window screen and how scratchy and annoying it was to work with that.  I wondered whether I could incorporate that as "spikes" somehow in my piece. 

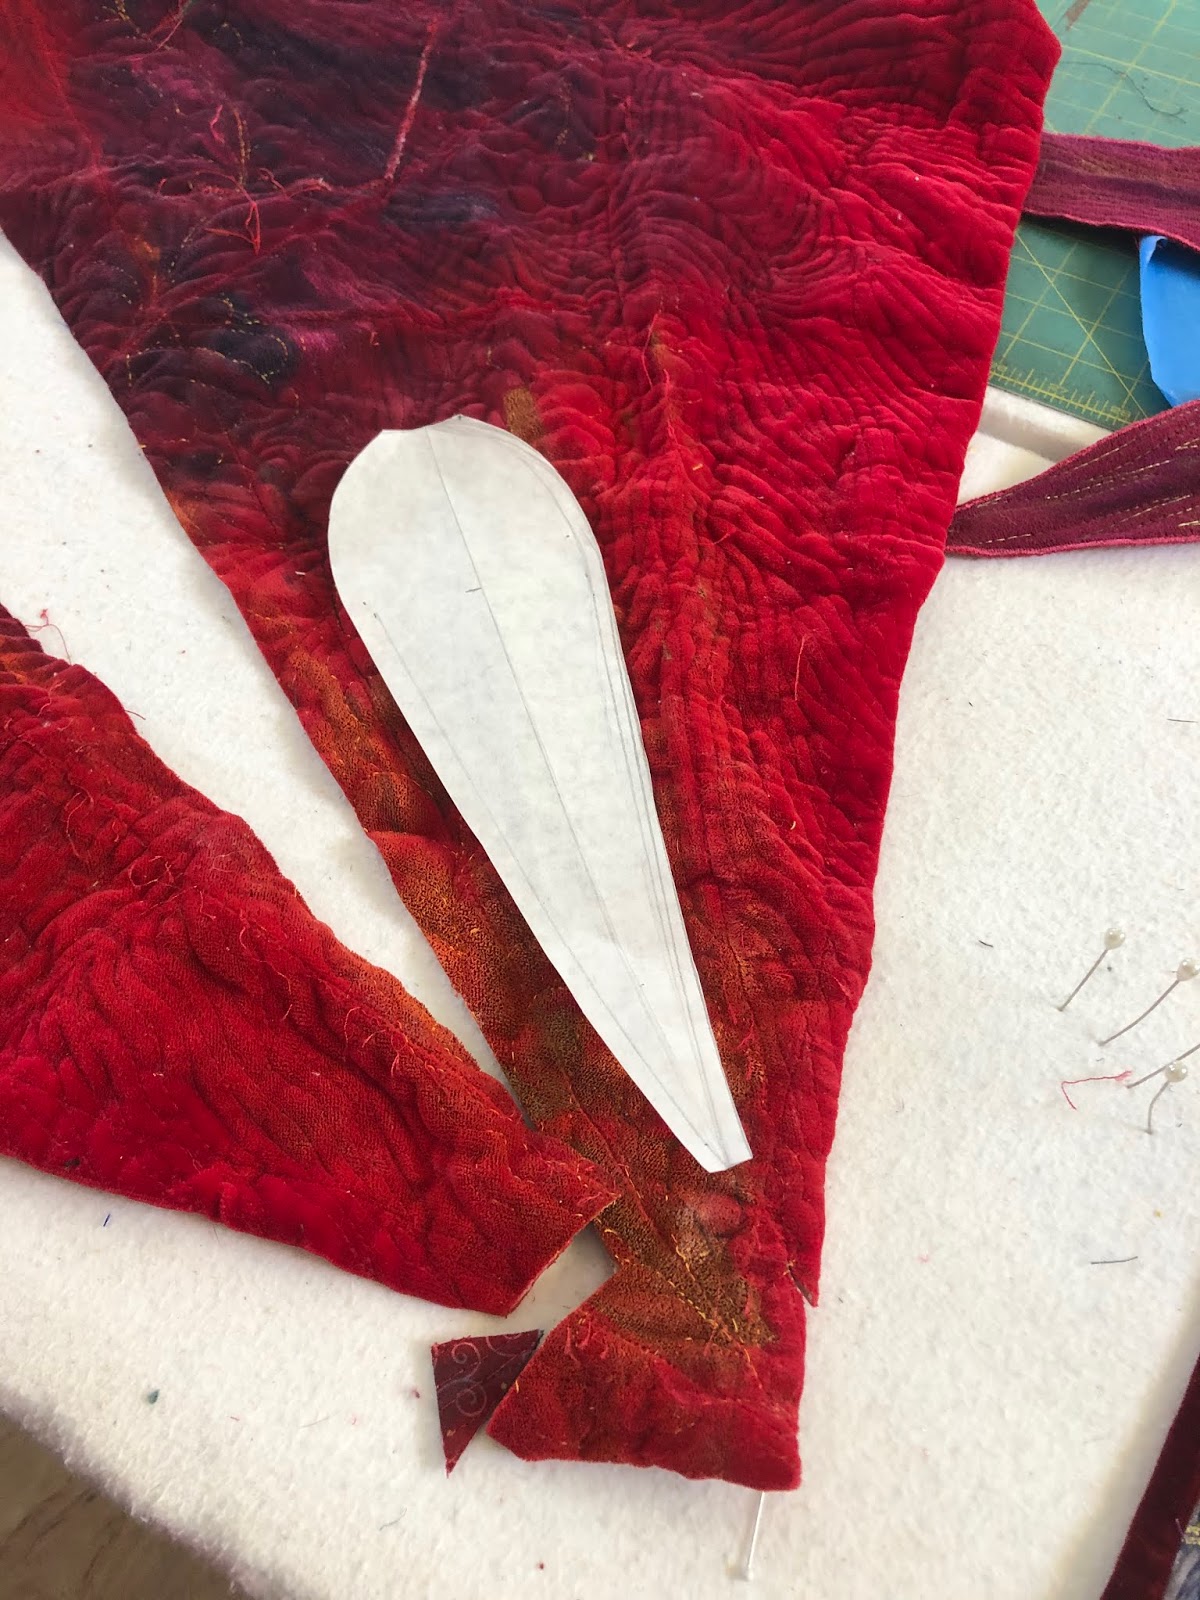
After displaying my large flowers at the NM Capitol in 2018, I decided to cut up the Bromeliad piece because I just wasn't happy with the overall shape of that one.  Since it was one that had incorporated the aluminum window screen, I figured now was the time to repurpose some of it into something else.  The original piece had a layer of painted velvet as the front, then a layer of batting, then a layer of window screen, then the backing fabric all quilted together.   One of my goals in this piece was to at least partially expose the spiky edges of aluminum, so I started by cutting out flame shapes, and then carefully picking out the quilting along the edges.  I then trimmed away the front fabric, batting, and backing fabric, leaving only the windowscreen showing.

Fort the background, I found this pale yellow gold shawl scarf thing that had bunches of pleats sewn into it with gold elastic.  I have no idea where it came from, but I loved the texture.  I stretched it out to the required width (20") and fused it to some leave-in interfacing before painting it and quilting it.  The last step was stitch on my five spiky thorny flames!  I picked areas out of the original quilt to cut up that had subtle color variations and quilting variations, and I love the way it turned out.  The binding is maroon velvet,  and in case anyone is wondering, yes it is a very dumb thing to try to make binding out of.


Here you can see me cutting out flames from the disassembled bromeliad quilt.


Those are my "quilting" gloves,  very grippy!  This is the piece mid-quilting, after stretching and painting.


Lantern Flame, c. Shannon Conley, 2020, 30" x 20"

Unfortunately, these pictures had to be submitted by a March 31st deadline (yes I am VERY behind blogging), and of course I didn't finish until two days before.  With the social distancing coupled with Mike's recent knee surgery, I wasn't able to have Mike take my pictures.  He lent me his camera, but even so my pictures aren't nearly as good as his are.  Oh well!  Here are some closeups.


Here you can really see the spiky metal edges sticking out!  One nice thing about the shapable window screen is that this piece can be rolled for shipping and subsequently "fluffed up" in contrast to the kirigami quilts which just aren't flexible in that way.


Tuesday, May 12, 2020

Cotton Candy Shawligan-Crochet!

Well once again I am many many months behind blogging.  I have no actual idea when I started this,  the earliest pictures (of me balling the yarn) are from February 2018, and the pattern file shows I saved it in January 2018, so I guess sometime around then.  I started it because I wanted an "idiot crochet" project, something easy to work on while chatting or watching TV.  It's definitely easy (the same two row fan pattern), and because it's long it does provide for a LOT of idiot crochet time.  The pattern is nicely written and easy to follow, you can find it as a free download from ravelry here.

I got sort of bored with it after a while, and around mid 2018 is when I really started switching almost fully back to knitting because crocheting was giving me tendonitis in my elbow.  In addition, this was supposed to be a carry along project (to work on while waiting or traveling) but it soon became to bulky to easily carry.  So basically this project languished.  But even though it was simple crochet, I really wanted to have the finished piece to wear.  The soft pink yarn is sort of heathered looking,  I have no idea what it is, some sort of acrylic I think, but it has a very nice look and feel.  It came from the magical Georgia yarn tree of course.

One downside is that you crochet one side out from the middle and then work the other side out from the middle.  This means that after you have made one side X length, you are then forced to keep going until the other side is that same length.  Argh.  Anyway, I used my time over Thanksgiving break and Christmas break at my mother's last fall to finish it up.  I used up that entire giant cone of yarn!  I love using things up from my stash.  And I've really enjoyed wearing it this winter.

Apparently I took no in progress shots at all-  I have this picture of me balling the yarn off of the cone and then nothing else.


 Blue was "helping" while I tried to take the pictures.  It was a windy day, so we had lots of blowing around.  I love the long sides on this piece, they swoop like a cape when walking.  They're almost a little too long though and I have to pick them up when walking up stairs.


It's meant to be long enough to wrap around oneself, and it's very warm worn this way.  I wore it double wrapped like this on cold days this winter (secured with a shawl pin in back) and it was nice and cozy.


Thursday, May 7, 2020

I Like #163

Welcome to another week of things to like.  Still sequestered at home, although our research labs are implementing phased opening next week, so starting Monday I'll be back in the lab more.

This week I discovered a quilt artist named Sarah Sharp, and was really drawn to this piece Winter Shadows
Sarah Sharp, Winter Shadows


I almost finished my latest illuminated quilt, and I'm so pleased with how it's turning out.  I still need to do a pocket and a label but hopefully I'll get to that soon.  I did the edge finishing in kind of a weird way, at some point I'll write a couple posts about the project, but here's a peek at the finished edge.

This bright pile of thread made me really happy this week; it was just what I'd gotten out as I quilted, but it looked so bright and cheerful.


One of the ladies who works in my lab is a new graduate student who is midway through getting a full sleeve arm tattoo of all nerdy science things.  I'm not a tattoo person particularly, but I am definitely a science nerd, and the artistry in her tattoos is pretty fabulous.  When I went into work earlier this week she showed me the newest section, a rat, and I fell in love with it.  


I like pies!  I made a lemon meringue pie for Mike to thank him for coming over to take pictures for me. I over-toasted the meringue, but I ate a piece before giving the rest to him and it was still tasty.


The pups are good!  Wonderful and snuggly!


My petunias are blooming like gangbusters and all my other plants are growing too.  I may need to dig some of the petunias out of the dog food sacks since I think they're crowding the dahlias.  I'll probably do that late this afternoon or tomorrow.  


I blogged this week about two projects I finished before quarantine (I had a huge backlogged of unblogged things), one was another kirigami quilt, and one was another wooden sculpture.  Click the links to see more about them.


I hope everyone is staying healthy and safe!  Click over to LeeAnna's for more things to like!

Wednesday, May 6, 2020

Kirigami #5: Sea Dragons

One of the things I really love about doing these kirigami quilts is that they satisfy my love of pattern, shape, and repetition, all things I love from traditional quilts, while being three-dimensional.

This next quilt was inspired by the colors and shapes of sea dragons,  I love watching them at aquariums, they look so much like plants!  Here's a picture of one I took in 2011 on a visit to the Monterrey Aquarium.


I loved the greeny-purple in their leaf-like fins, so took that idea and ran with it for this quilt.  

The fabric I painted was the same as that I used for the creepy-crawlie piece, only this time I put the red on the back and the green on the front.  I accented the green with purple shiva paintsticks to give color variety.  The cut and folded quilt is stitched down to a purple quilted background, I love the bright pops of quilting that stand out from the rest.  This one was especially hard to photograph, but we tried!


Kirigami #5: Sea Dragons, c. Shannon Conley, 2020, Photo, Doug Conley


Tuesday, May 5, 2020

Drum Geometry

When I was a kid my mom taught me to draw these little curved shapes using only straight lines.  I had lots of fun making all kinds of drawings.  I've come back to the idea several times as an adult; in 2012, I used the curved stitching approach to make a little mini-quilt for my mom, and in 2016 I made string art valentines.  

While recently exploring things I could make out of wood using the laser cutter I got excited by ways to make the wood pliable and easily curved.  The first time I really thought about this was when I made the wooden box for the Christmas nativity that had a flexible lid.  I started looking around and found a bunch of different patterns to make flexible wood cutouts. 

 My original idea was to have a round outer wooden frame, and then use the concepts from curved stitching (i.e. straight stitches to make curved shapes), but I didn't have any way to make the outer lattice work stay round.  It kept breaking (where the two segments joined together) and generally behaving badly, so I made a frame to hold it together.


Even with the frame, getting everything to be round and square was tricky.


Here it is after I started stitching my string pattern in the middle.  I decided to do five different sizes of string patterns, and though there are lots of different string patterns you can make, lots of them require anchor points on places other than the edge of the circle.  I used different colors of crochet thread, and It was time-consuming to do all the lacing, but luckily it went more smoothly than my other two wooden sculptures!


Drum Geometry, c. Shannon Conley, 2020

I like the way it turned out, I love the patterns generated with string, but overall the wood structure feels a little simplistic.  You can tell I'm not a sculptor!!


On the outside I stitched some of the non-circle string motifs.  These are the first I learned, but are drawn on an XY axis rather than circular backbone.