Tuesday, July 31, 2012

I'm Back! (For a moment)

Hi out there all you bloggy friends!  I'm back from my trip to Germany, which was super fun, (and documented in around 800 pictures), and have been quilting madly on Seymour.  Just in the random-aside vein,  this always plays in my mind when I say (or think) "I'm back" or "I'll be right back."  Not sure why, but it's one of those things that's taking up permanent brain space and keeping out more important useful things.


Anyway,  I fused Seymour's background pieces all together on both sides, then assembled the quilt sandwiches.  I used spray baste to adhere the batting to the backing and then fused the top (you may recall the whole thing had fusible on it) to the batting.  This seemed to work fairly well in terms of shifting;  that is, I didn't really have any.  I'm pleased that there were no back puckers or anything.

That didn't mean the quilting went particularly well though.  Some parts were fairly straightforward, while others really made me want to scream.  For instance,  I feel pretty good about the quilting on and around the swamp (on the dark side) and on chimney rock (on the light side), mediocre about the quilting on the background of the dark side, and dreadful about the sky on both sides.

For the foreground of the light side my mom suggested quilting some straight lines (after I had a little mini-meltdown on the phone) so I did that.  I increased the distance between the lines as I came into the foreground (to hopefully give some added perspective), but the lines blend in so much I don't think you can tell.  I also think it probably needs more quilting in that region, but so much will be covered by Seymour that I'm going to wait to do any more quilting till his skeleton is on there.

I did the (seemingly)-requisite ripping as well, once when the tension was way off and I didn't realize it until I'd quilted a large section, and once when the extra backing got accidentally flipped around the edge (ACK).  Also, I did all the quilting on the singer 201 which has a blessedly large amount of space under the harp compared to my baby Janome, but makes extra stitches after I've picked up my foot/stopped my hands.  I have lovely little knots all over the top of my quilting.  *sigh*


However, squaring them up and standing back (way back) made me feel better, as I'm still liking the overall impact.  The next step is to put on the trim and facing so the two sides can be laced together (I'll post on that later this week).  My goal is to finish the trim/facing this week, so wish me luck.  I'm headed to my family home in southern New Mexico on Friday for a family reunion in honor of my Grandfather's 85th birthday.  Should be fun, especially because my favorite Anna Banana will be there.  She has grown significantly (to judge from the pictures) and has apparently acquired many new skills since I last saw her.

Hope everyone is doing well out in blogland (and real-land too!)

Wednesday, July 11, 2012

WIP Wednesday: Light and Dark

I'm running out of ideas of what to call my WIP posts about Seymour the dinosaur which is not good since he's not anywhere near done.  

I did get the dark side assembled in the past week though.  After being unhappy with how much blending there was between the trunk and the background, I replaced a bunch of the pieces of background right next to the trunk with pieces that were darker and had less pattern.  I also tried using Shiva Painststicks for the first time.  If you've never used them, they're like a cross between an oil paint and a crayon.  You can draw or dab or blend with them, but they don't drip.  I got a beige one at a LQS while we were in Denver with the goal of lightening the edge of the trunk (in combination with darkening the edge of the background.  I also finished the bottom section and worked on the lake some more since I didn't like the purply bits in the middle (it's supposed to feel like a reflection of the sky).

Here's where I left off last week.


Here's what it looks like now.  Much better I think.

On these two close-ups you can see the effect of the paintstick.  In each picture the two arrows are pointing to identical pieces of fabric, only the piece on the right has had some beige paintstick applied to lighten it.


I've still got all the pins in it so I can look at it and mull it over to see whether I think any more pieces should be moved or replaced before I fuse it all together.  I tell you what, it sure uses a lot of pins!  Do any of the pieces look out-of-place to you guys? Here are the two sides together.  I love the way they look side-by side.  Such a dramatic difference; just what I was going for.  It's too bad you won't ever see them this way displayed.


I'm headed out-of-town again tomorrow, hopefully all will go smoothly.

Monday, July 9, 2012

Passport Wallet

I'm leaving for Germany on Thursday, (yay!) and decided I wanted a passport wallet thingy to carry while I'm there.  I'd thought about just making up a pattern myself like I did for the iPad case, but then figured there were bound to be instructions already out there.   Of course, pinterest didn't let me down, and I decided to follow this fabulous tutorial from Crafty Staci.  The instructions were a little tricky, but I figured it out and am really pleased with how mine came out.  It was a first time I'd done a zipper like that and it was so easy (thanks to the instructions).

For anyone wondering, I followed her instructions exactly except I added piping around the outside and used snaps instead of an elastic.  The outer fabric is from my favorite print (from Jane Sassaman's Prairie Gothic line) and the change purse lining/piping are Kate Spain (both previously seen here).  I'm not sure what the inner pockets are.  It's kind of hard to tell in the pictures, but there are credit card/ID pockets on both sides (on top of the passport pocket), so I'm hoping to avoid carrying an additional wallet all together.


I hope the dogs behave for Mike while I'm gone!  Any last minute suggestions on things to do in Munich?

I'm actually going to link up with Young House Love/Bower Power/Centsational Girl/Ten June summer Pinterest challenge since it was running right when I decided to do this pinterest inspired challenge.  YHL is one of my favorite blogs, you guys should check it out.  

Friday, July 6, 2012

Sounds of Life and Light

One more old quilt for this week.  I made this for my dear friend Linda, who is also the organist at our church.  I think it was my very first original design.  Perhaps not 100% successful, but I love it so much.  Check out the original posts here and here.


I hope you are all staying cool!

Wednesday, July 4, 2012

Seymour's back!

Super late update today!  I hope you're all having a lovely Independence Day.  I've been working on Seymour some more lately, or rather Seymour's background, and wanted to give an update.

On a peripherally related note, when I was in Denver last weekend for my friend's wedding, my mom and I went to the Denver Museum of Nature and Science.  It's really a great museum but the best part was that they had an assembled Coelophysis skeleton.  I took a bunch of pictures even though it was a little late for drafting Seymour.  

When last we left off, I'd finished the background for the front (below) and was talking about working on the skeleton.


After significantly more thought about the assembly process, however, I realized that I would need to piece the background and quilt the front and back together before putting on any foreground or dinosaur elements. So I set to work on the pattern for the back.  As you may recall, while the front (or really "side A" since he'll be fully reversible) will have Seymour's skeleton, the back will have him fleshed out.  Here's the pattern I used for the back ("side B").  I edited, enlarged, and printed it as I discussed here.


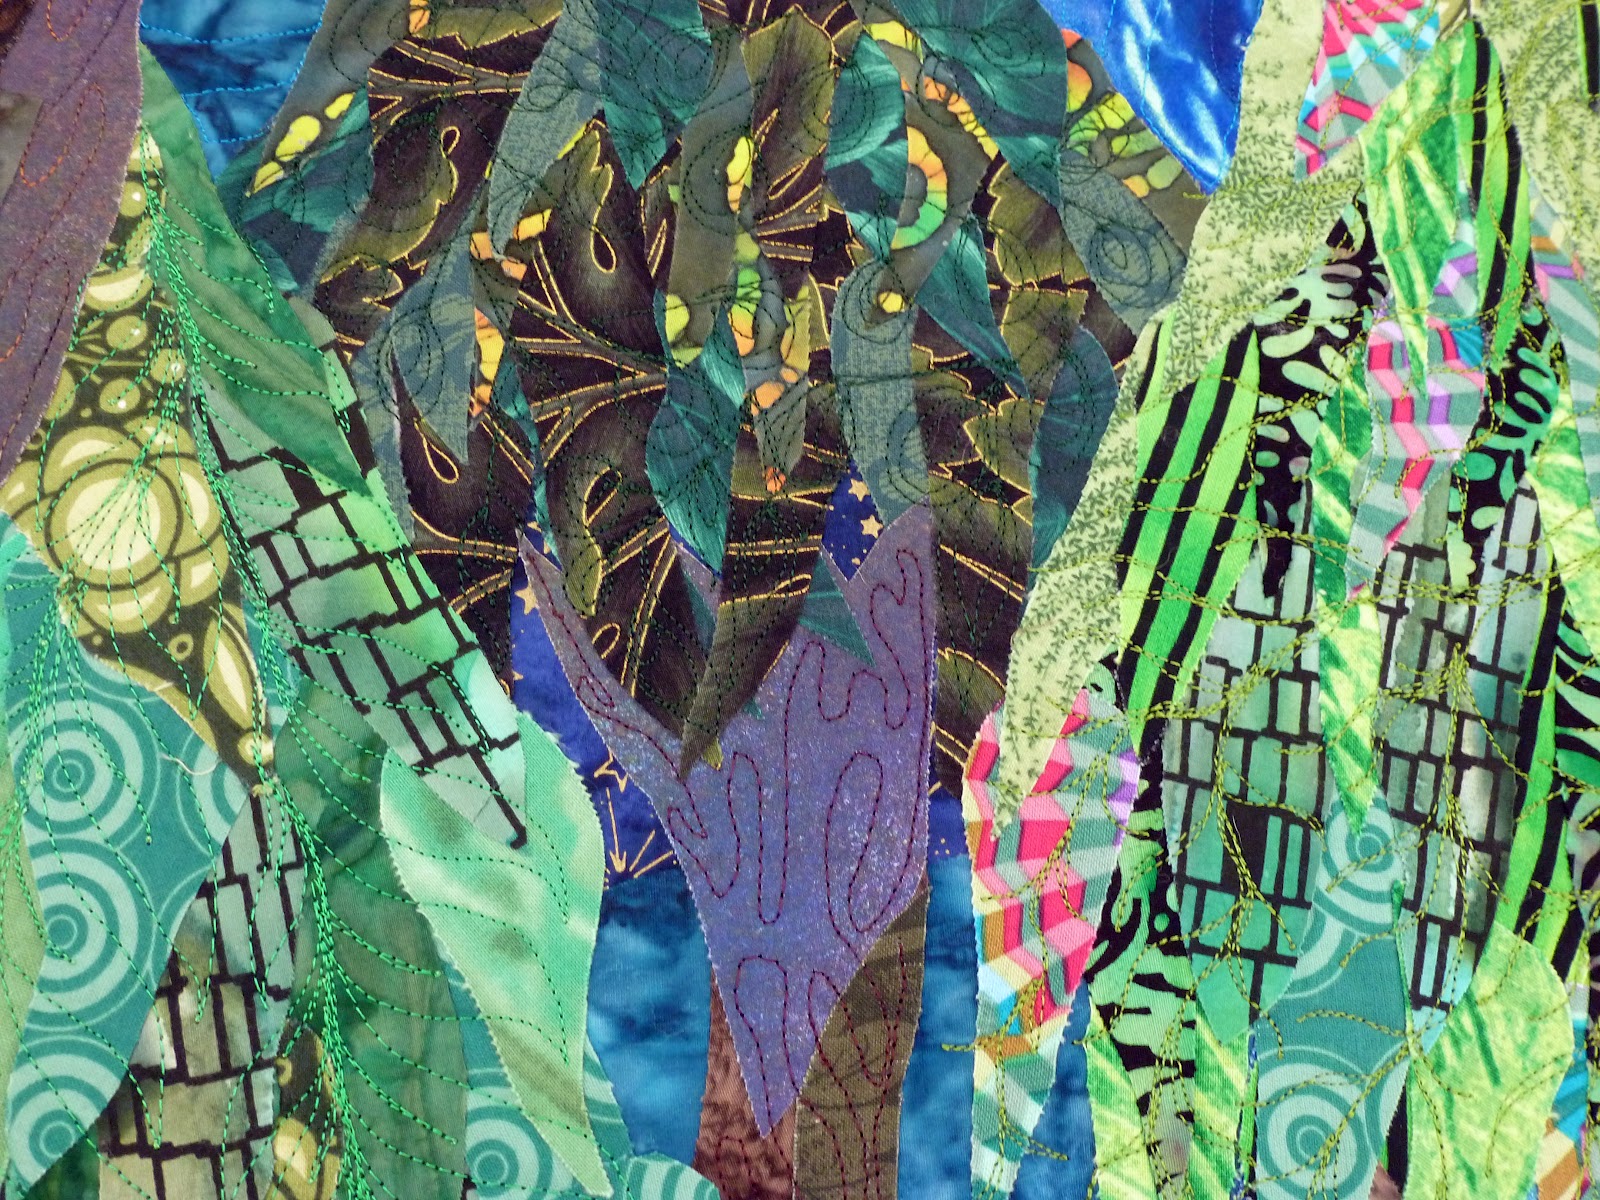
I assembled the back the same way as I did the front, basically cutting out pieces backed with fusible and pinning them up.  My guiding design aesthetic was that side A would be desert- characterized by light tints and warm colors and that side B would be jungle- characterized by dark shades, low contrast, and cool colors.  I started with the treetops, large trunk, and sky, then started filling in the background.


I got to this point and stopped because I didn't quite like the interface between the tree trunk and the background.  I wanted this side to be more blendy and low contrast than the other side, but it felt like the tree trunk was getting lost in the background.  I didn't have any more really dark fabric or any more solid looking fabric so I decided to wait until I had a chance to go fabric shopping.  My mom and I actually had a chance to visit some quilt stores when we were in the Denver area and I picked up a few great options.  I can't wait to swap them out to make the tree pop a bit more.

I'm really happy with how it's going so far, especially the trunk and trees.  I think the background still needs quite a bit of work though.

Linking up with Freshly Pieced as usual!


Monday, July 2, 2012

Fourth of July

While I'm traveling, I wanted to show some of my old quilts that are buried in the archive.  If you've seen them before, there'll be new stuff on Wednesday.

This one seemed particularly apt.  "Proud to be an American," or as it will always be in my brain, "Mikes' Lone Star."  One of the wonderful things about Mike retiring is that this quilt gets to hang in our house now instead of his office.  You can check out my posts about it here.


I feel very lucky to have been able to grow up in and live in a place that offers as many freedoms and privileges (and wide open spaces and mountains, and on and on and on) as America.  Happy 4th of July everyone!  I hope you all have a chance to celebrate safely with your families or friends.  If you're not American, I vote you use it as an excuse to grab your nearest and dearest for a celebratory tipple anyway!

Friday, June 29, 2012

Quickie-unexpected-mid-afternoon-post

I meant to mention this in my ramble this morning but forgot.  Lately I have been very inspired by this website (Astronomy Picture of the Day).  So wonderful and awe-inspiring.

Here's one from a few days ago. 
 Simeis 188 in Stars, Dust and Gas 

Image Credit & Copyright: Dieter Willasch (Astro-Cabinet)


One Year Blogiversary!

I can't believe it, I just looked at my archives and realized my one-year blogiversary was earlier this month.  Hard to imagine I've been sharing projects in this space for a whole year.  I know I haven't posted anything this week, but I've been collaging away on Seymour, so hopefully soon I'll have progress to share about him.  I was planning to do a celebratory giveaway, but things have been so hectic I haven't had a chance to organize anything.  Maybe a little bit later in the fall.

I'm not sure whether I've mentioned it here, but I'm traveling a ton this summer.  It seems to be one of those years where I'm blessed to have many wonderful celebrations to attend: Anna Ruth's baptism, two weddings, one of which is being officiated by Anna's namesake, a family reunion in honor of my grandfather's 85th birthday, among others.  I'm also traveling to Germany for two weeks in July (for work, but I'm super excited), and then to Wyoming with Mike to see his family.  All of this means that I've had (and will continue to have) limited time to quilt and blog this summer.

I'm often torn; when I'm finally at home resting and not quilting, I feel like I'm wasting time that I should use to "be productive", but I hate feeling like sewing is a chore.  In a similar vein, when I have time to be creative, if I use it to sew, I seldom also have time to blog.  I feel bad for not being in this space as regularly as I would like; all the blog advice reminds us that regular posting is important.  I have to remind myself repeatedly of what I sometimes lose track of; that I sew and craft because I like it, not to generate blog content.  I know that so many of you struggle with the same things that it sounds almost cliche to talk about them.  In any case, I love blogging and interacting with the wonderful crafty community, and getting feedback/sharing inspiration.  I'm not going anywhere, I just hope soon I'll have something to show!

I've also been thinking a lot about the kind of projects I want to do.  I've been working really hard lately on Seymour, and trying to stay focused on him.  Finishing him is going to be a long, long process.  I often have the desire to start some small can-be-finished-just-now project, and to be honest, I may make some re-usable lunch bags next week when I get back, but otherwise I'm trying to stay focused on Seymour.  The deadline for the show I'm making him for is September 15, which is looming very close given how much work there is left and how much I'm going to be gone.

In addition to Seymour and the other projects I already have going (the dog portraits and the Christmas quilt are the two big ones still going, with many other small things in progress), I'd like to do a little more bag making, and I'd also like to make some charity quilts.  I really enjoyed making the charm pack baby quilt for Samantha, and small patchwork quilts give me the opportunity to use fun fabrics I love but that don't fit into my bigger projects.  I feel like I should be giving more than I am, and some charity quilts would be a good way to do that I think.

I'm headed to Denver tomorrow for one of the weddings, I hope you guys have a great weekend!

I'll leave you with an iPhone picture I took before it got hot.


Friday, June 22, 2012

Baby Baby Baby: Part 63

It isn't really part 63 of course, but there have been a bunch of baby items lately.  Having made several things for the wonderful Anna, I decided it was time to make some things for another baby of my acquaintance.  Michael is almost the same age as Anna (a couple of months now), and is the grandson of my Mike's brother's wife.  The baby is living with Mike's brother and his wife, and I think the situation has been pretty challenging, particularly since baby Michael has had some health problems.  In any case, the baby is just adorable.

I decided to make him a minky blanket using green and blue minky and a super fun woodland animal print.  As before, I FMQed his name and the date on it so he'd know it was made especially for him.  


After making the minky blanket I remembered the self-binding receiving blanket tutorial from Sew Much Ado, and decided I'd try making one of those too.  I mean, all babies need lots of blankets right?  For this one, I used two contrasting colors of fun dog flannel.  


Finally, Becky mentioned to me that she'd made up a couple more simple fabric panel books for Anna and some other babies she knows.  I decided I'd make one of those for Michael too.  I had a hard time finding any that weren't licensed characters, but I finally found this cute one with opposites.  It was way easier to assemble than the disastrous one we made before, mostly because the pages had numbers and instructions.  


I hope he enjoys them!

Monday, June 18, 2012

Twirly patchwork skirt

So I actually made this skirt before the blouse I showed Friday and realized after I wrote up the blog post on the shirt that I actually have been doing a lot (for me) of clothes sewing in the last couple of months.  First the Easter dress, then the top, and now this skirt in addition to the baptism gown for Anna.  Pretty weird.  I think I'm done for a while though, I'm going to go back to focusing on my quilts.

Anyway, my mom got a skirt pattern at a quilt show a while back and we planned to make it together.  I tried to find an online reference for the pattern but came up empty.  The envelope says Park Slope Pattern Company, Woodstock, Pattern #20.  If anyone has any information on it, let me know.

The body of the skirt is pieced in a patchwork/strip sort of style, and called for a bunch of different fabrics.  We went with light weight rayon prints since they drape so nicely.  We purchased most of the fabrics on a family vacation to Hawaii in 2010.  They're not really Hawaiian fabrics in any way, but we've found a couple of large fabric stores there and so always seem to fabric shop.  I've only been to Hawaii twice, but the first time I bought fabric for my curtains and a bunch of Hawaiian prints for my Eye on the Ocean quilt and the second time I went we bought the fabrics for this skirt.  Weird thing to do on vacation, but not for us I guess!


I have to say that the majority of the work on this skirt was done by my mom.  She spent days lining up and cutting out ALL the billions of pieces, no small feat given that the pieces were large and they were all cut out of slippery rayon.  She finished her skirt (sewn on the serger) and then I think she was feeling pretty done with the whole project.  She brought me my bag of skirt pieces and the serger and a couple of weeks ago I sewed it all together.  It assembled pretty easily since all the pieces were cut out already (thanks mom!).  I'm really grateful to have had the serger which did wonders for preventing raveling.

It's designed to be a sort of one-size-fits-all kind of pattern.  Since it's a wrap skirt it overlaps on itself and the instructions say (more or less) to make yourself a waistband that fits and then gather (or not) the skirt to fit in the waistband.  I'd tried on my mom's finished one and was kind of worried that I wouldn't have enough "skirt" to get all the way around me as I'm quite a bit larger than she is.  The pattern has a spot where you can add on more fabric if you need it.  Although I thought I would need to add on, I figured I'd wait until I got the rest put together before deciding.  I'm so glad I did!  I guess my mom must have gathered hers quite a bit to fit into her small waistband, because I had a ton (!) of skirt.  Given how much fabric this took, I guess that's not surprising.

Anyway, here's the finished skirt from the front.


I like that it's very flowy, and I love the colors we picked and the look of the patchwork, but there were a few things about it that bugged me. It's designed to be longer in back than in front, which is ok in theory, but in the back it was really too long.  I almost tripped over it when I tried it on.  Even more bothersome than that was that it felt like the volume of fabric was not evenly distributed around my person.  I'm not sure how to describe it, but there were areas, for example right in the back, where it felt like there was a bunch of fabric while in other areas there was less.  I know it's designed to be assymmetrical, but I wasn't too crazy about how it felt.  I wasn't sure how to solve the problem, but I decided to go ahead and cut a bunch of length off the back.  That helped quite a bit, and now I don't notice the volume issue.


It's really comfortable and twirly!